Dependency injection is a software design pattern focused on making our applications loosely coupled, extensible, and maintainable. In this tutorial, you will learn how to handle dependency injection using Dagger 2.
Introduction
When you have an object that needs or depends on another object to do its work, you have a dependency. Dependencies can be solved by letting the dependent object create the dependency or asking a factory object to make one. In the context of dependency injection, however, the dependencies are supplied to the class that needs the dependency to avoid the need for the class itself to create them. This way you create software that is loosely coupled and highly maintainable.
This tutorial uses the newest version of Dagger, Dagger 2. At the time of writing, Dagger 2 isn't officially released yet and is in pre-alpha stage. However, it is usable and stable. You can visit Dagger on GitHub to get news about the project and possible dates for the official release.
Prerequisites
You will need the latest version of Android Studio installed on your development machine, which you can download from the Android Developer website.
1. Dagger 2 API
Dagger 2 exposes a number of special annotations:
-
@Modulefor the classes whose methods provide dependencies -
@Providesfor the methods within@Moduleclasses -
@Injectto request a dependency (a constructor, a field, or a method) -
@Componentis a bridge interface between modules and injection
These are the most important annotations you need to know about to get started with dependency injection using Dagger 2. I'm going to show you how to use them in a simple Android application.
2. Dagger 2 Workflow
To implement Dagger 2 correctly, you have to follow these steps:
- Identify the dependent objects and its dependencies.
- Create a class with the
@Moduleannotation, using the@Providesannotation for every method that returns a dependency. - Request dependencies in your dependent objects using the
@Injectannotation. - Create an interface using the
@Componentannotation and add the classes with the@Moduleannotation created in the second step. - Create an object of the
@Componentinterface to instantiate the dependent object with its dependencies.
Dependency analysis is shifted from run time to compile time. This means
that you are notified of possible problems during the development
phase, unlike with other libraries, such as Guice. Before using the Dagger 2 library, you need to prepare your Android Studio installation to access the generated classes.
3. Android Studio Environment Setup
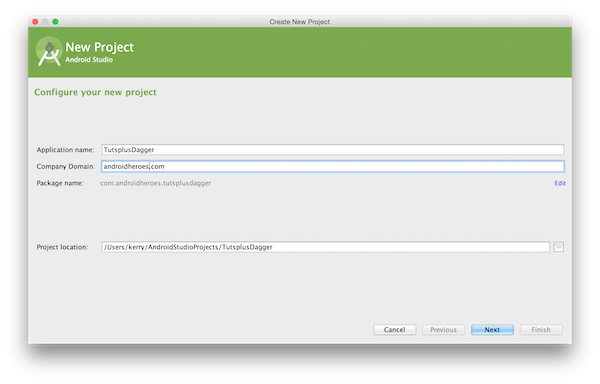
Step 1
Create a new application using Android Studio and give it a name. I've named my project TutsplusDagger.
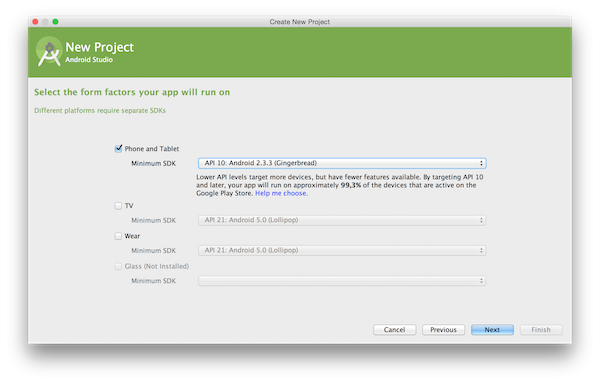
Step 2
Set the Minimum SDK for the project to API 10 to reach as many devices as possible.
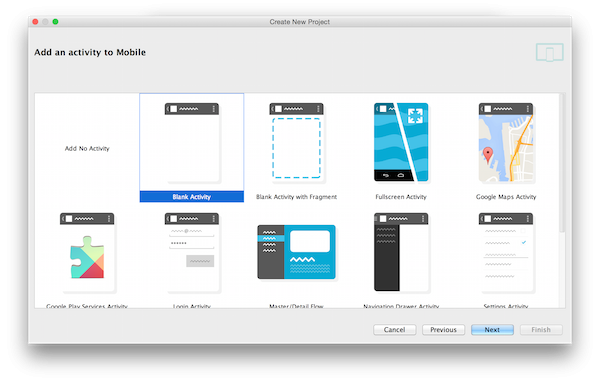
Step 3
Choose the Blank layout for the activity you are creating. For this tutorial, you don't need a special layout.
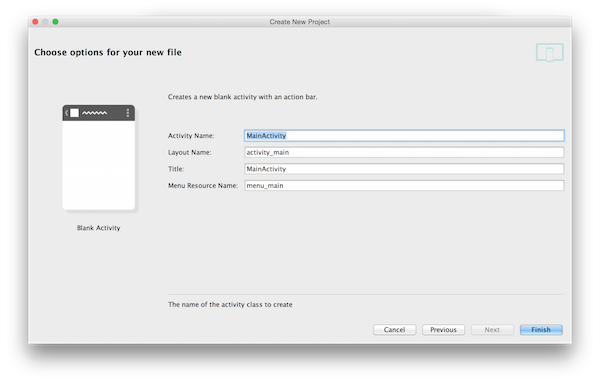
Step 4
Name the activity MainActivity and click Finish.
With the project created, you need to make a few modifications to the gradle files. Let's make those changes in the next step.
4. Configuring Gradle Setup
Step 1
We need to modify the project's build.gradle file as shown below.
buildscript {
    repositories {
        jcenter()
    }
    dependencies {
        classpath 'com.android.tools.build:gradle:1.0.0'
        classpath 'com.neenbedankt.gradle.plugins:android-apt:1.4'
    }
}

allprojects {
    repositories {
        mavenCentral()
        maven{
            url 'https://oss.sonatype.org/content/repositories/snapshots/'
        }
    }
}
Let's take a moment to see what changes we've made:
- dependencies: In this section, I've added a plugin that is going to be useful for accessing the code generated by Dagger. If you don't, you'll see errors when referring to these new classes.
- allprojects: This change is necessary since the libraries we're going to use are currently in pre-alpha, and this is the only place available if you want to access them using Maven. You can try to download the Dagger and Dagger Compiler libraries from Sonatype, but this tutorial is based on the Maven repositories.
Step 2
Open build.gradle in your project's app folder and modify it as shown below.
apply plugin: 'com.android.application'
apply plugin: 'com.neenbedankt.android-apt'

android {
    compileSdkVersion 21
    buildToolsVersion "21.1.2"

    defaultConfig {
        applicationId "com.androidheroes.tutsplusdagger"
        minSdkVersion 10
        targetSdkVersion 21
        versionCode 1
        versionName "1.0"
    }
    buildTypes {
        release {
            minifyEnabled false
            proguardFiles getDefaultProguardFile('proguard-android.txt'), 'proguard-rules.pro'
        }
    }
}

dependencies {
    compile fileTree(dir: 'libs', include: ['*.jar'])
    compile 'com.android.support:appcompat-v7:21.0.3'

    compile 'com.google.dagger:dagger:2.0-SNAPSHOT'
    apt 'com.google.dagger:dagger-compiler:2.0-SNAPSHOT'
    provided 'org.glassfish:javax.annotation:10.0-b28'
}
At the beginning of the file, I'm applying the new plugin. Be sure to put the new plugin (com.neenbedankt.android-apt) below or after the Android plugin. If you don't, then it's going to show errors when trying to synchronize the project with the gradle files.
In dependencies I added:
- dagger library
- dagger-compiler for code generation
- javax.annotation for additional annotations required outside Dagger
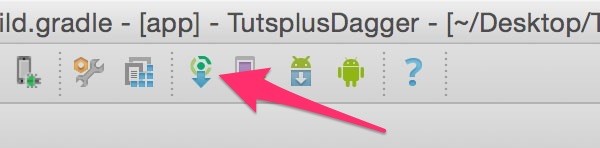
After updating Dagger's configuration, you can synchronize the project with the gradle files by clicking the button at the top.
At
this point, you have an empty project ready to be used in your
application. If you see any errors, make sure you've correctly followed the above steps. We can now proceed to implement our example project.
5. Implementing Dagger 2
Step 1: Identify Dependent Objects
For this tutorial, I'm going to work with two classes, Vehicle and Motor. Motor is the independent class and Vehicle is the dependent class. I'm going to start creating this model within a new package called model.
This is what the Motor class look like:
package com.androidheroes.tutsplusdagger.model;

/**
 * Created by kerry on 14/02/15.
 */
public class Motor {

    private int rpm;

    public Motor(){
        this.rpm = 0;
    }

    public int getRpm(){
        return rpm;
    }

    public void accelerate(int value){
        rpm = rpm + value;
    }

    public void brake(){
        rpm = 0;
    }
}
This class has only one attribute called rpm, which I'm going to modify through the accelerate and brake methods. And I'll check the current value using the getRpm method.
This is what the Vehicle class looks like:
package com.androidheroes.tutsplusdagger.model;

/**
 * Created by kerry on 14/02/15.
 */
public class Vehicle {

    private Motor motor;

    public Vehicle(Motor motor){
        this.motor = motor;
    }

    public void increaseSpeed(int value){
        motor.accelerate(value);
    }

    public void stop(){
        motor.brake();
    }

    public int getSpeed(){
        return motor.getRpm();
    }
}
In this class, you can see that I'm not creating a new object of the Motor class, even though I'm using its methods. In a real world application, this class should have more methods and attributes, but let's keep it simple for now.
Step 2: Create @Module Class
You now have to create a class with the @Module
annotation. This class is going to provide the objects you will need with its dependencies satisfied. For this, you have to create a new package (just to keep it in order), name it module and add a new class inside it as follows:
package com.androidheroes.tutsplusdagger.module;

import com.androidheroes.tutsplusdagger.model.Motor;
import com.androidheroes.tutsplusdagger.model.Vehicle;

import javax.inject.Singleton;

import dagger.Module;
import dagger.Provides;

/**
 * Created by kerry on 14/02/15.
 */

@Module
public class VehicleModule {

    @Provides @Singleton
    Motor provideMotor(){
        return new Motor();
    }

    @Provides @Singleton
    Vehicle provideVehicle(){
        return new Vehicle(new Motor());
    }
}
As I specified in Step 1, Vehicle needs
Motor to work properly. That is why you need to create two
providers, one for Motor (the independent model) and another one for Vehicle
(indicating its dependency).
Don't forget that every provider (or method) must have the
@Provides annotation and the class must have the @Module annotation.
The @Singleton annotation indicates that there will be only one
instance of the object.
Step 3: Request Dependencies in Dependent Objects
Now that you have the providers for your different models, you need to
request them. Just as Vehicle needs Motor, you have to add the @Inject annotation in the Vehicle constructor as follows:
@Inject
public Vehicle(Motor motor){
    this.motor = motor;
}
You
can use the @Inject annotation to request dependencies in the constructor, fields, or methods. In this case, I'm keeping the
injection in the constructor.
Step 4: Connecting
@Modules With @Inject
The connection between the provider of dependencies, @Module, and the
classes requesting them through @Inject is made using @Component,
which is an interface:
package com.androidheroes.tutsplusdagger.component;

import com.androidheroes.tutsplusdagger.model.Vehicle;
import com.androidheroes.tutsplusdagger.module.VehicleModule;

import javax.inject.Singleton;

import dagger.Component;

/**
 * Created by kerry on 14/02/15.
 */

@Singleton
@Component(modules = {VehicleModule.class})
public interface VehicleComponent {

    Vehicle provideVehicle();

}
Next to the @Component annotation, you have to specify which modules are going to be used—in this case
I use VehicleModule, which we created earlier. If you need to use more modules, then just add them using a comma as a separator.
Within the interface, add methods for every object you need and it will automatically give
you one with all its dependencies satisfied. In this case, I only need a
Vehicle object, which is why there is only one method.
Step 5: Using @Component Interface to Obtain Objects
Now that you have every connection ready, you have to obtain an
instance of this interface and invoke its methods to obtain the
object you need. I'm going to implement it in the onCreate method in the MainActivity as follows:
package com.androidheroes.tutsplusdagger;

import android.support.v7.app.ActionBarActivity;
import android.os.Bundle;
import android.widget.Toast;

import com.androidheroes.tutsplusdagger.component.Dagger_VehicleComponent;
import com.androidheroes.tutsplusdagger.component.VehicleComponent;
import com.androidheroes.tutsplusdagger.model.Vehicle;
import com.androidheroes.tutsplusdagger.module.VehicleModule;

public class MainActivity extends ActionBarActivity {

    Vehicle vehicle;

    @Override
    protected void onCreate(Bundle savedInstanceState) {
        super.onCreate(savedInstanceState);
        setContentView(R.layout.activity_main);

        VehicleComponent component = Dagger_VehicleComponent.builder().vehicleModule(new VehicleModule()).build();

        vehicle = component.provideVehicle();

        Toast.makeText(this, String.valueOf(vehicle.getSpeed()), Toast.LENGTH_SHORT).show();
    }
}
When you try to create a new object of the interface with the @Component annotation, you have to do it using the prefix Dagger_<NameOfTheComponentInterface>, in this case Dagger_VehicleComponent, and then use the builder method to call every module within.
You can see that the magic takes place on line 23. You are only asking for one object of the class Vehicle and
the library is the one in charge of satisfying all the dependencies this
object needs. Again you can see there is no new instantiation of any
other object—everything is managed by the library.
You can now run the app and try it on your device or in an emulator. If you
followed the tutorial step by step, you will see a Toast message indicating the initial value or the rpm variable.
In the attached project, you can see a custom user interface for the MainActivity class, in which you can modify the value of the rpm variable by tapping the buttons on the screen.
Conclusion
Dependency injection is a pattern that you will have to implement sooner or later in your own applications. With Dagger 2, you have an easy-to-use library to implement it. I hope you found this tutorial useful, and don't forget to share it if you liked it.
A great way to improve as an Android developer is to use Android app templates to start your projects. You can find templates for games or other apps, individual UI elements, and much more.
Or if you want something completely customised to your specifications, you can hire an Android developer on Envato Studio to do anything from tweaks and bug fixes to creating a whole app from scratch.


Comments