In the previous article, we gave an introduction to WooCommerce. Let’s talk about the General Settings of WooCommerce now.
Installation and Activation
Being a WordPress-based plugin; its installation is very easy and can be achieved through a few clicks. For beginners who don't know how to install a WordPress plugin, here is how you'll do it:
- Go to your WordPress site dashboard.
- Click the menu for Plugins and select Add New.
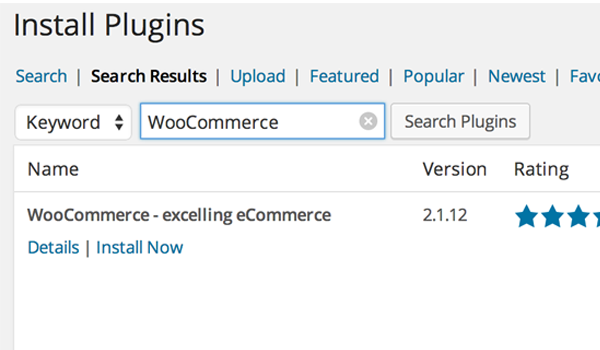
- There you will search for
WooCommerce. - You will find it being displayed in the top results.
- Click Install Now.
- After installing, simply Activate Plugin.
Initialization
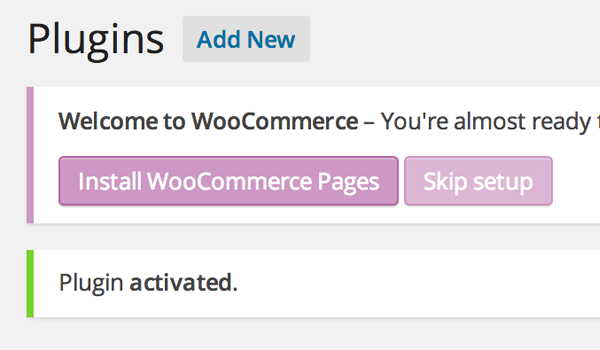
Right after the installation, a window will display in the top (magenta in color) which welcomes the user and says, “You’re ready to start selling :)” At the same time WooCommerce gives two options: you can either "Install WooCommerce Pages” or you can “Skip Setup.”
Click Install WooCommerce Pages so that you can install some pages (Login, Checkout, etc.) which ensure the proper functionality of this plugin.
Getting Started With WooCommerce
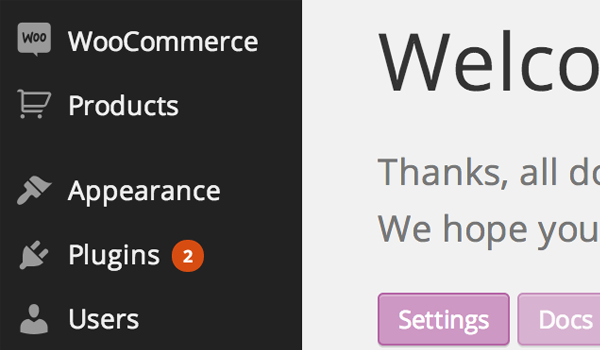
You will find two new menus in the admin dashboard:
- WooCommerce
- Products
Let’s kick off our discussion with the menu named WooCommerce, from where we will go into the sub-menu Settings.
Settings
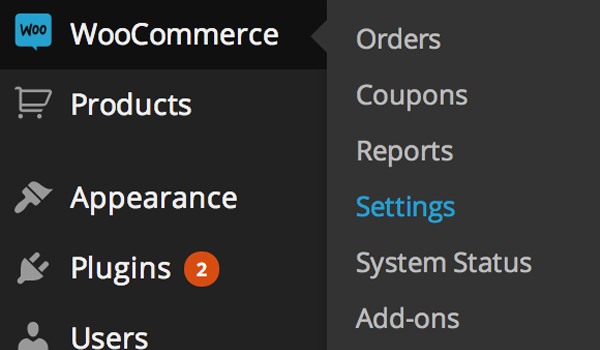
Here you can configure your online store. In this section of the plugin you can find various types of settings like General, Product, Tax, Checkout, Shipping, Accounts and Email settings. Let's go through the General Settings first.
General Settings
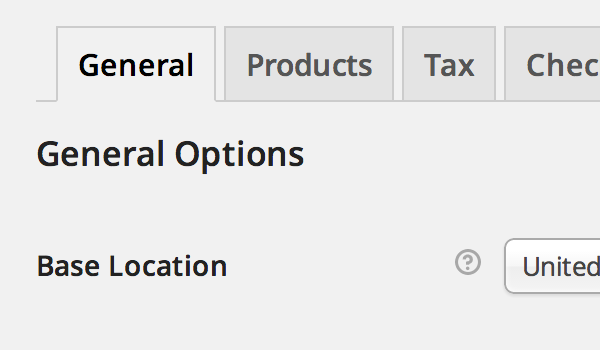
The General Settings has some simple options inside. Let's configure each of them.
General Options
At the time of writing this article, there are four general options:
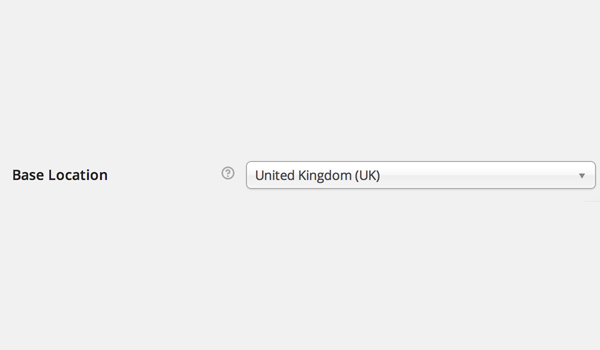
1. Base Location
2. Selling Location
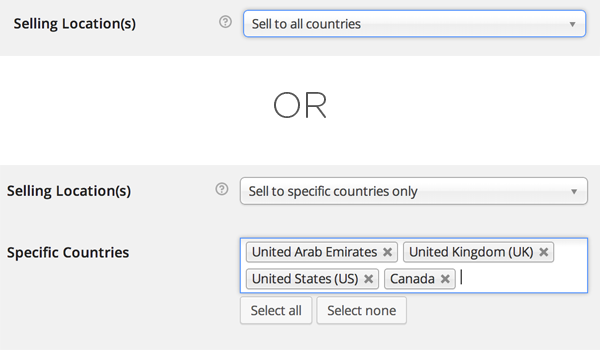
WooCommerce allows you to select which countries you are willing to sell to. Here you can either select the option of selling products to all countries or to some specific countries. All you have to do is type in the Specific Countries box to select them. This Specific Countries box will appear only if you choose the Sell to specific countries only option.
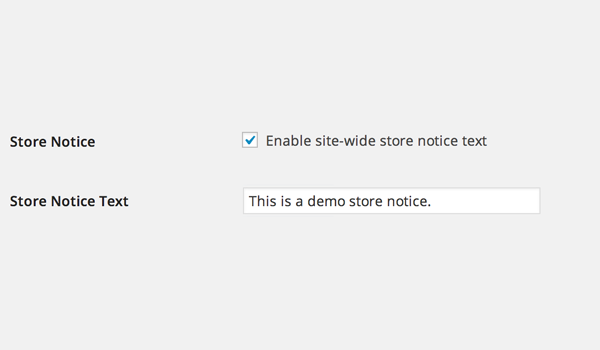
3. Store Notice
4. API
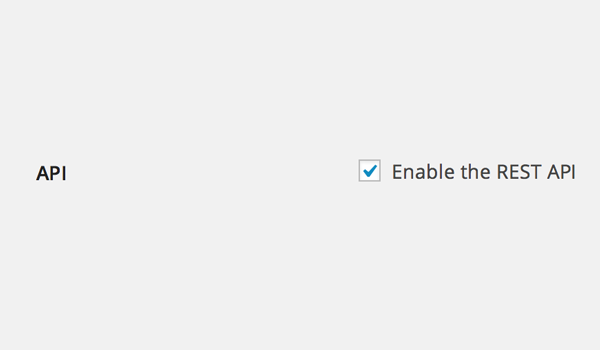
Since the release of WooCommerce v2.1, one of the best changes that has been made is the introduction of the REST API. Enabling this checkbox will allow the developers to interact with various API calls that are present in your web store data.
This read-only option can give access to your data either in JSON or in XML format. You can access five primary resources through this API, i.e. your Order, Customer, Coupon, Product, and Reporting data.
Currency Options
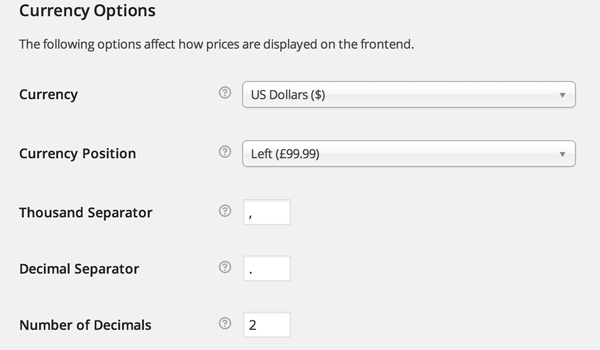
- Currency: WooCommerce provides a huge range of custom currencies which allows you to select an existing currency's symbol or label. As previously discussed, setting the base location specifies the default tax rates, so configuring your native currency will make things even more comprehensive. This helps to control what currency prices are listed in the catalogue and which currency gateways will take payments in.
- Currency Position: This plugin offers a good deal of options for currency settings, and Currency Position is one of these. You can choose the default currency position for your prices, like Left, Right, Left with space, and Right with space.
- Thousand Separator: This setting option allows the user to set the thousand separator for the displayed prices. For example, you can set (,) as a thousand separator which will be displayed in prices like 1,000.
- Decimal Separator: You can set the decimal for the displayed prices with this option. For example, you can set (.) as a decimal separator which will be displayed in prices like 10.00.
- Number of Decimals: This setting is again used to beautify your displayed price. Setting a value (2) will allow a price to have only two decimal numbers, e.g. 999.99.
Styles and Scripts
1. Frontend Styles
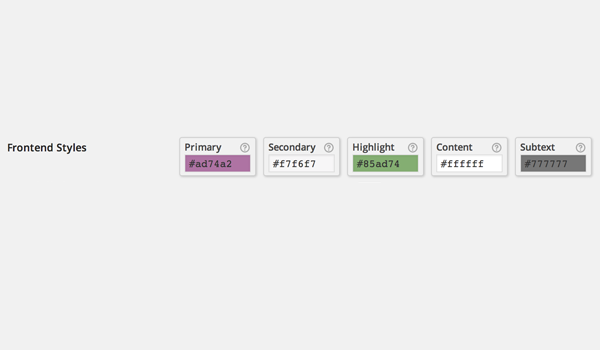
Scroll down to the WooCommerce Frontend Styles option right below the section for Styles and Scripts. This allows you to choose colors of your own choice which suit the requirement of your online store. WooCommerce offers five different front-end styles, i.e. Primary, Secondary, Highlight, Content, and Subtext. Each of these styles has its own significance.
- Primary is used to style the call to action buttons, price slider, etc.
- Secondary are the various buttons and tabs that can be styled with this setting.
- Highlight is used for different price labels and sale flashes.
- Content page background can be styled with this setting.
- Subtext allows you to add some additional text like breadcrumbs, small text, etc., and then this option lets you to select a color for its styling.
2. Scripts
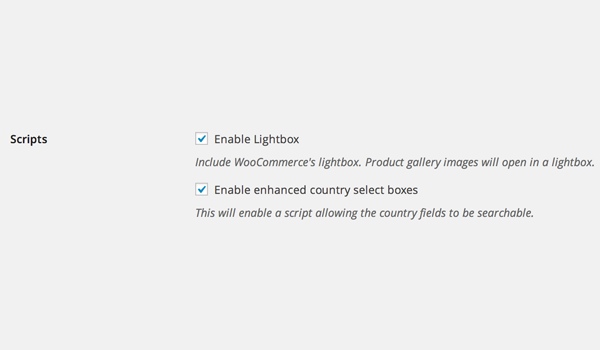
Right towards the end you can find two different options for Scripts. These are:
- Enable Lightbox: If I think like a buyer, then I will definitely want to have a 360-degree view of the product which I am planning to buy. Keeping this in mind, a good seller always uploads a gallery of images. With the Enable Lightbox option checked, the product images will now open in a popup lightbox if an end user clicks on them.
- Enable enhanced country select boxes: This option will assist when any customer is checking out. Checking or enabling this script will allow a user to search for country fields.
Once you are done with exploring all these options, you may click on the Save Changes button at the end. This completes the configuration of General Settings in WooCommerce.
In the upcoming tutorials we will be looking at some more settings in detail.

Comments