WordPress themes have become dynamic, and a larger part of their control lies in the hands of a user. Today, managing and configuring theme settings has become quite easy. One of the handiest options which can enable or disable any of your theme's features in a single click is a checkbox. I'm sure you've come across several coding scripts which create this option, but how about learning a quick method of doing so? Let's discuss how Titan Framework helps to add a checkbox type option.
The Checkbox Type Option in Titan Framework
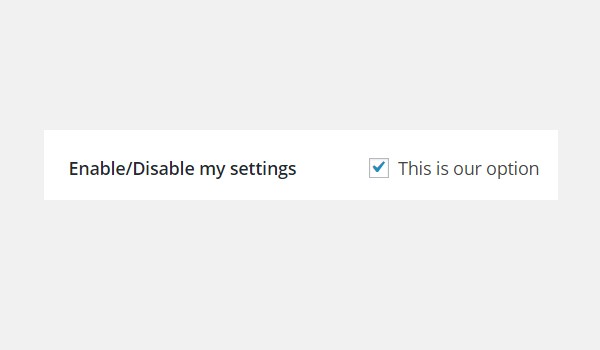
Titan Framework allow its users to add a checkbox type option, which looks like this:
The checkbox option type has several parameters:
- name: It defines the display name of the checkbox type option.
- id: This parameter assigns a unique name which helps in retrieving the values.
-
default: (Optional) It sets the default value of the option.
- desc: It displays a brief description.
- livepreview: (Optional) This parameter displays a live preview of the changes when a checkbox type option is added inside a theme customizer section.
- css: (Optional) When you add this option inside an admin page and/or theme customizer section, this parameter automatically generates CSS.
All these parameters are of type string, except default, which is boolean.
Available Containers for the Checkbox Type Option
The checkbox type option can be created inside:
- Admin Panel
- Admin Tabs
- Metabox
- Theme Customizer Section
No matter which container type you choose, the process of adding this option type remains the same:
- Get a unique instance via the
getInstance()function. - Add an option via the
createOption()function. - Get the saved values via the
getOption()function.
If you want to learn how these containers are created in Titan Framework, refer to the previous articles of this series.
Creating a Checkbox Type Option Inside an Admin Panel
Example Declaration
First I'll create this option type inside an admin panel.
<?php
    /**
     * Create the checkbox type option
     */
    $aa_panel->createOption( array(

        'id'      => 'aa_checkbox', // The ID which will be used to get the value of this option
        'type'    => 'checkbox', // Type of option we are creating
        'name'    => 'My Checkbox Option', // Name of the option which will be displayed in the admin panel
        'desc'    => 'This is our option', // Description of the option which will be displayed in the admin panel
        'default' => false //Default value of the option type

    ) );
I created a checkbox type option inside an admin panel $aa_panel via the createOption() function (line #5). This function takes up an array of parameters and that is why I've added some of the necessary parameters here, i.e. name, id, type, default, etc.
In this type of option, id and default are quite important. 'ID' ( i.e. aa_checkbox), which should be unique, gets the saved values, while 'default' specifies the current status (i.e. enabled or disabled) of the checkbox at the time of its creation.
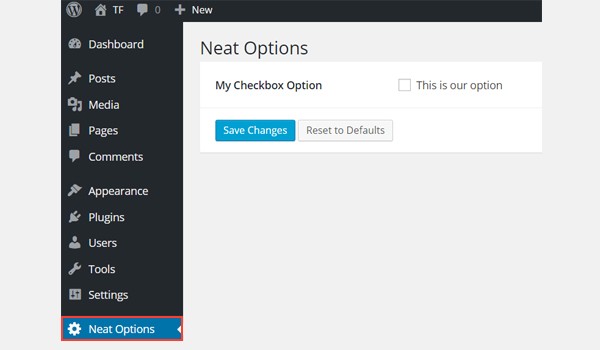
The above screenshot displays a checkbox type option named My Checkbox Option inside an admin panel Neat Options. This is initially disabled, which satisfies the value of the default parameter.
Example Usage
Now I'll retrieve the saved options values.
<?php
// 1. Get the titan framework instance and save it to a variable
$titan = TitanFramework::getInstance( 'neat' ); // we will initialize $titan only once for every file where we use it.
// 2. Get the value via ID using getOption function
$aa_checkbox_val = $titan->getOption( 'aa_checkbox' );

/**
 * Print the saved values
 */

if ($aa_checkbox_val == 1) {
    echo 'Checkbox type option in an admin panel is: Enabled';
} else {
    echo 'Checkbox type option in an admin panel is: Disabled';
}

?>
Being an enable/disable type option, the retrieval of its saved values is somewhat different. The checkbox option is not like the previously discussed types where the values can be directly retrieved and printed at the front-end.
Instead, this option type is used with some other theme functionality. For example, you can allow users to enable or disable the logo with a checkbox, which means all you have to do is check whether the checkbox is enabled or disabled and process it accordingly.
So let's take a look at the code written above. In line #3, the getInstance() function takes up a unique parameter, preferably your theme name. That's why I've used neat here.
Then in line #5, I used the getOption() function, which registers the option ID as a parameter and saves its value to a new variable aa_checkbox_val.
One more thing: the checkbox type option is booloean, i.e. its value is either 'true/false' or '1/0'. So, to explain its behavior I've written a simple if-else statement (lines #11 to #15).
If the value stored in variable $aa_checkbox_val is 1, then Enabled is printed. This indirectly means the checkbox is marked. Otherwise, Disabled is printed at the front-end, which denotes the checkbox unmarked or disabled.
I've used this if-else check for the purpose of explanation; however, you can write any code within this block.
Displaying the Result at the Front-End
Suppose I checked this option and saved it.
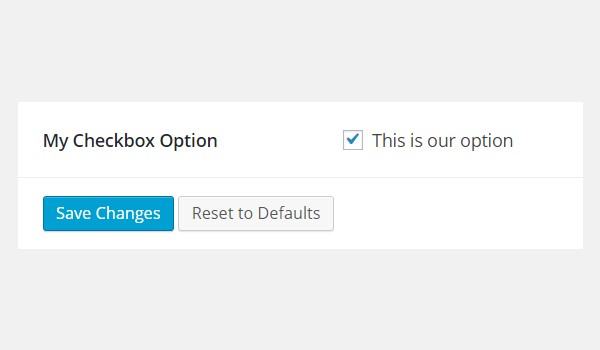
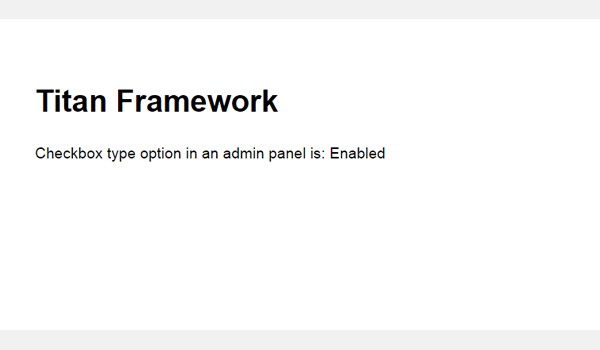
According to my code, this type of setting should print 'Checkbox type option in an admin panel is : Enabled'.
Now I'm unmarking the checkbox to find out what gets displayed at the front-end. Here is its image:

Creating a Checkbox Type Option Inside an Admin Panel
Example Declaration
Here is the code for a checkbox type option in an admin tab:
<?php

    // Create checkbox type option
    $aa_tab1->createOption( array(

        'id'      => 'aa_checkbox_in_tab1_panel2', // IDs should always be unique. The ID which will be used to get the value of this option
        'type'    => 'checkbox', // Type of option we are creating
        'name'    => 'My Checkbox Option', // Name of the option which will be displayed in the admin panel
        'desc'    => 'This is our option', // Description of the option which will be displayed in the admin panel
        'default' => false //Default value of the option type

    ) );
I added a checkbox type option with ID aa_checkbox_in_tab1_panel2 in an admin tab $aa_tab1. Here is its screenshot:
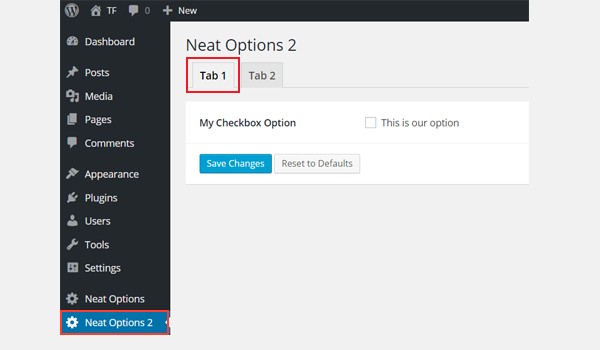
You can find this option inside Tab 1 of admin panel Neat Options 2.
Example Usage
Let's retrieve the values:
<?php
// 1. Get the titan framework instance and save it to a variable
$titan = TitanFramework::getInstance( 'neat' ); // we will initialize $titan only once for every file where we use it.
// 2. Get the value via ID using getOption function
$aa_checkbox_in_tab1_panel2_val = $titan->getOption( 'aa_checkbox_in_tab1_panel2' );

/**
 *  Print the saved values
 */
if ( 1 == $aa_checkbox_in_tab1_panel2_val ) {
    echo 'Checkbox type option in an admin tab is: Enabled';
} else {
    echo 'Checkbox type option in an admin tab is: Disabled';
}
In line #3, I'm getting a unique instance. Then the getOption() function (line #5) is registering the ID aa_checkbox_in_tab1_panel2 and saving its value in a new variable aa_checkbox_in_tab1_panel2_val.
Finally, this variable is used inside an if-else check to print the checkbox setting at the front-end (lines #11 to #15).
Displaying the Result at the Front-End
Suppose I kept this option unmarked and saved it. The front-end appears like this:
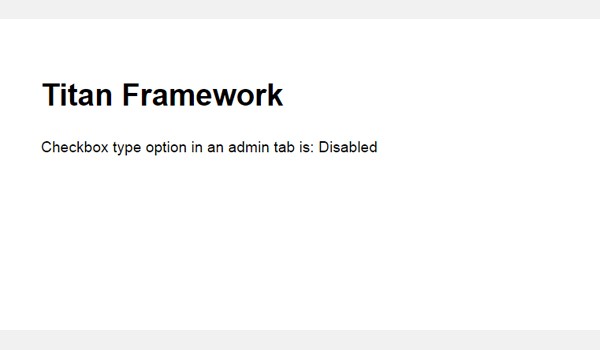
Now you can enable it and view the result yourself.
Creating a Checkbox Type Option Inside a Metabox
Example Declaration
I'm going to create this option in a metabox.
<?php
    /**
     * Create the checkbox type option
     */
    $aa_metbox->createOption( array(

        'id'      => 'aa_mb_checkbox', // The ID which will be used to get the value of this option
        'type'    => 'checkbox', // Type of option we are creating
        'name'    => 'My Checkbox Option', // Name of the option which will be displayed
        'desc'    => 'This is our option', // Description of the option which will be displayed
        'default' => false //Default option value

    ) );
This time I created a checkbox type option inside a metabox $aa_metbox via the createOption() function. Its ID is aa_mb_checkbox.
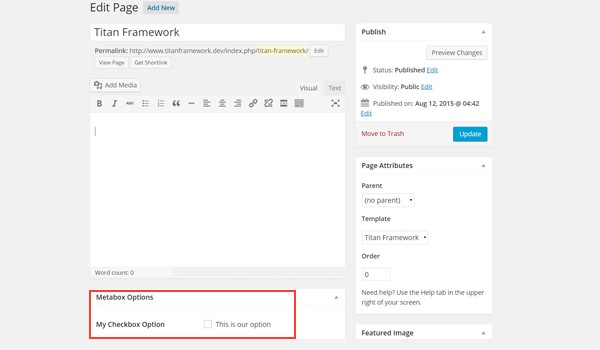
You can find an option named My Checkbox Option inside a metabox displayed at the end of a page(post_type) editing screen. However, it also appears in the post editing area.
Example Usage
Now I'll get the saved options values:
<?php
// 1. Get the titan framework instance and save it to a variable
$titan = TitanFramework::getInstance( 'neat' ); // we will initialize $titan only once for every file where we use it.
// 2. Get the value via ID using getOption function
$aa_mb_checkbox_val = $titan->getOption( 'aa_mb_checkbox', get_the_ID() );

/**
 * Print the saved values
 */

if( 1 == $aa_mb_checkbox_val ) {
    echo 'Checkbox type option in a metabox is: Enabled';
} else {
    echo 'Checkbox type option in a metabox is: Disabled';
}
?>
Getting the saved options values for the checkbox type option in a metabox is pretty much the same process. The only difference is observed in line #5 which takes up an additional parameter, i.e. the function get_the_ID(). This function is to get the ID for a specific page/post or a post_type.
Displaying the Result at the Front-End
This time I checked the option as the demo settings. Let's upload what appears at the front-end:
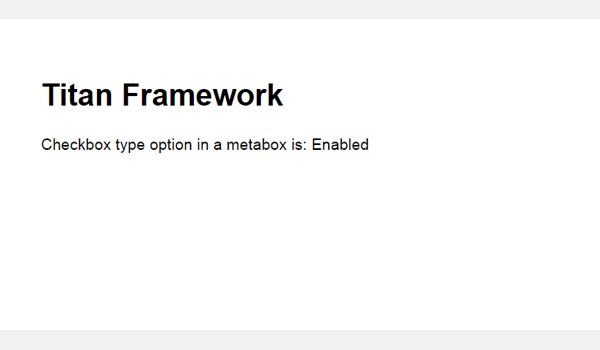
Try out the enabled part of the example yourself. It's pretty much the same.
Creating a Checkbox Type Option Inside a Theme Customizer Section
Example Declaration
Finally, let's add this option in a theme customizer.
<?php
    /**
     * Create the checkbox type option
     */
    $aa_section1->createOption( array(

        'id'      => 'aa_sec_checkbox', // The ID which will be used to get the value of this option
        'type'    => 'checkbox', // Type of option we are creating
        'name'    => 'My Checkbox Option',// Name of the option which will be displayed
        'default' => false // Default value of our option

    ) );
A checkbox type option with ID aa_sec_checkbox exists inside a theme customizer section $aa_section1.
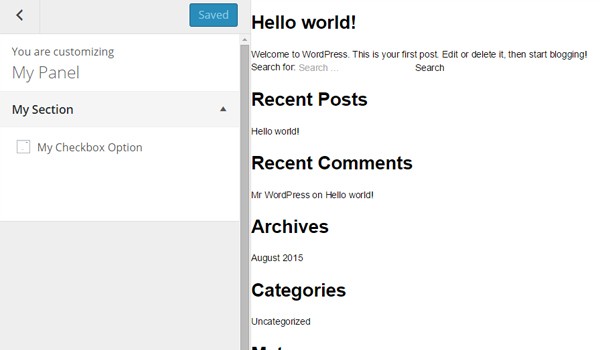
You can find My Checkbox Option inside a theme customizer section named My Section.
Example Usage
Let's type the code for getting saved values:
<?php
// 1. Get the titan framework instance and save it to a variable
$titan = TitanFramework::getInstance( 'neat' ); // we will initialize $titan only once for every file where we use it.
// 2. Get the value via ID using getOption function
$aa_sec_checkbox_val = $titan->getOption( 'aa_sec_checkbox' );
/**
*
* Print the saved values
*
*/
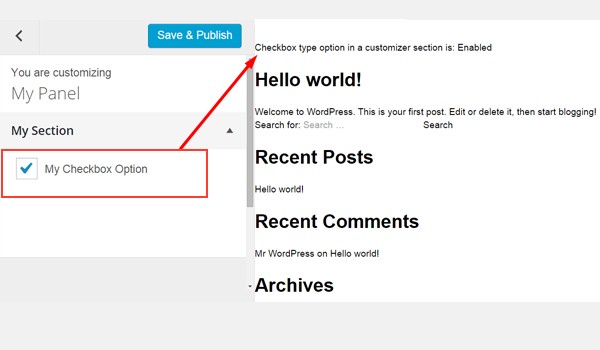
if( 1 == $aa_sec_checkbox_val ) {
echo 'Checkbox type option in a customizer section is: Enabled';
} else {
echo 'Checkbox type option in a customizer section is: Disabled';
}
?>
Once again, use the same procedure to get the saved options values. But as this option is created inside a theme customizer, you'll write this code in your header.php file and run it.
Displaying the Result at the Front-End
In the end, I'll show the live changes which occur:
Conclusion
Imagine you are building a premium WordPress theme and on the single.php page, you want the end user to be able to control if the theme should:
- display the date
- display the author
- display the author box
- display the comments count
- display ads or related content
Then you can add multiple checkboxes and enhance the user experience.
Try this out and let me know if you have any questions. Comment below or reach out on Twitter.

Comments